

Aftermarket Wheel Installation Guide: Step by Step
Last Updated: November 11, 2026
Quick Summary
Aftermarket wheel installation starts with confirming fitment, meaning bolt pattern, offset and center bore must match your vehicle before you remove anything. Then clean the hub and mounting surfaces, test-fit the wheel, and tighten the lug nuts to the specified torque in a star pattern.
- Confirm bolt pattern, offset and center bore against your vehicle before removing the old wheel.
- Use hub-centric rings when the wheel's center bore is larger than the hub.
- Clean the hub face and mounting surface with a wire brush to remove rust and debris.
- Tighten lug nuts in a star pattern, in two or three passes, using a torque wrench rather than an impact gun.
- Re-torque the lug nuts after the first 50 to 100 kilometres of driving.
Table of Contents
- Why Aftermarket Wheel Installation Needs More Care Than a Factory Swap
- Checking Aftermarket Wheel Fitment Before You Touch a Wrench
- Choosing Hub-Centric Rings for Aftermarket Wheels
- Tools, Surface Prep and the Installation Sequence
- Wheel Lug Nut Torque Specifications and the Tightening Pattern
- Re-Torquing After Installation and Troubleshooting Problems
- Booking Your Mobile Tire Install or Ordering Verified-Fit Wheels
- Frequently Asked Questions
Why Aftermarket Wheel Installation Needs More Care Than a Factory Swap
An aftermarket wheel installation guide is only useful if it starts with the mistakes that cause most problems. A wheel that looks right on the shelf can still fail to seat correctly on the hub. Factory wheels are matched to one specific vehicle. Aftermarket wheels are not, which means the fitment checks and tightening steps that a dealer handles automatically are now your responsibility.
Aftermarket wheels can differ from the original in bolt pattern, offset, center bore, seat type and load rating. Any one of these differences can cause a wheel to rub, vibrate or loosen. A wheel that is slightly off-center on the hub can cause vibration at highway speed, and a lug seat that does not match the wheel can let the nut work loose over the first few hundred kilometres.
The payoff for doing it properly is straightforward. Once you confirm fitment, prepare the mounting surfaces and tighten to specification, a correctly installed wheel should run true and hold its torque. The rest of this guide walks through each step in order so you can check your work before the car goes back on the road.
Checking Aftermarket Wheel Fitment Before You Touch a Wrench
Fitment is the first and most important step. Confirm it before you remove anything from the vehicle.
Rubber Lab's fitment-first search tool checks bolt pattern, offset and center bore against your specific vehicle. You can also calculate wheel offset to check clearance before you buy. Even with that check, confirm the numbers on the wheel itself against your vehicle's specifications before installation.
Bolt pattern, offset and center bore
The bolt pattern is the number of lugs and the diameter of the circle they sit on, written as something like 5x114.3 mm. It must match the hub exactly. Offset is the distance from the wheel's mounting face to its centreline, measured in millimetres. Offset controls how far the wheel sits in or out relative to the suspension and fender. Center bore is the hole in the middle of the wheel that fits over the hub.
A wheel with the correct bolt pattern but the wrong offset can rub the inner fender or strain the wheel bearings. A wheel with a larger center bore than the hub will centre on the lug nuts alone, which is the main reason for vibration problems covered later in this guide.
Test-fitting and measuring clearance
Before final installation, test-fit the wheel with the lug nuts finger-tight. Turn it by hand and check for rubbing against brake calipers, suspension components and the inner fender lip. Measure the gap between the tire and fender at the top and bottom of the arch, and check the brake caliper clearance by rotating the wheel slowly through a full revolution.
If the wheel is stuck on the hub or sits off-centre, stop and recheck the center bore and hub face before you go further.
Choosing Hub-Centric Rings for Aftermarket Wheels
If an aftermarket wheel has a larger center bore than your hub, hub-centric rings bridge the gap. These are plastic or aluminum rings that fill the space between the hub and the wheel, so the wheel is supported by the hub rather than by the lug nuts.
Choose rings that match the hub's outer diameter on the inside and the wheel's center bore on the outside. A common problem is buying rings that are too loose or too tight, so measure both diameters before ordering. Hub-centric rings can address a vibration that appears only at highway speed.
Tools, Surface Prep and the Installation Sequence
You need a torque wrench, a lug nut socket, a vehicle jack, two jack stands, a wire brush and a clean rag. A few minutes of prep here prevents hours of troubleshooting later.
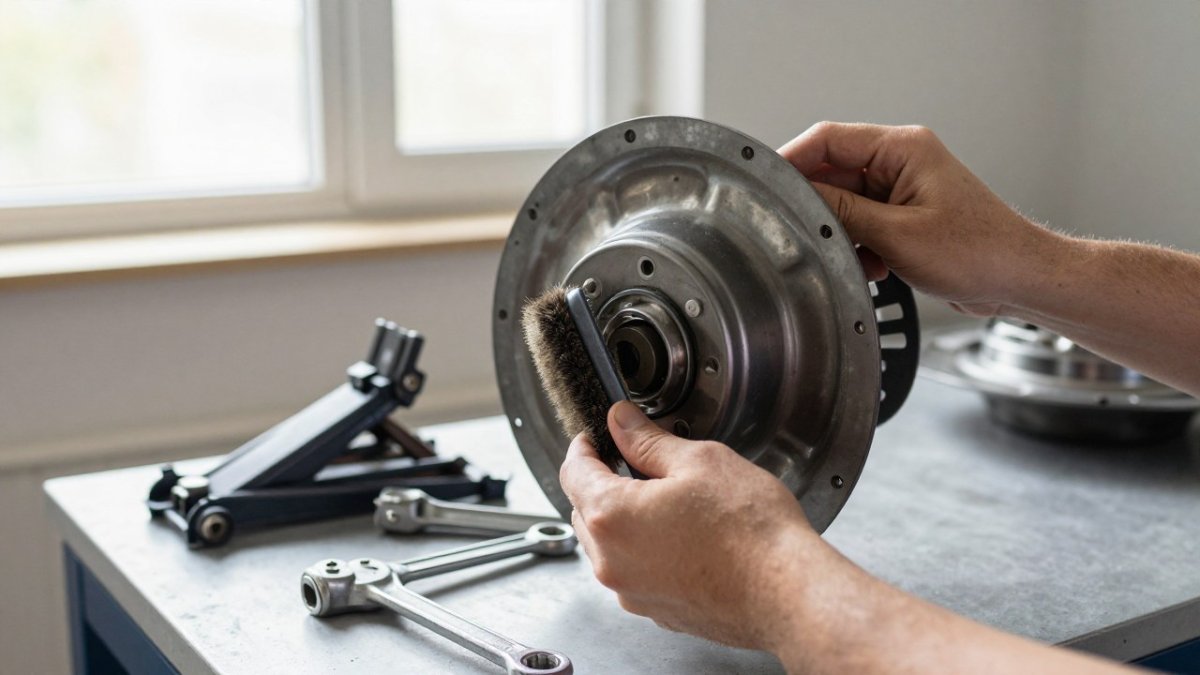
Work in this order:
- Raise the vehicle on a level surface and place jack stands under the frame.
- Remove the old wheel, and break the lug nuts loose before lifting it off.
- Clean the hub face and the wheel's mounting surface with a wire brush, removing rust, paint and debris.
- Inspect the wheel studs for damage and clean the threads.
- Mount the wheel, start the lug nuts by hand, and test-fit as described above.
- Lower the vehicle until the tire just touches the ground, then tighten the lug nuts in a star pattern.
Surface contamination is one of the most overlooked causes of loose wheels. Rust or debris between the wheel and hub can compress over time and let the nuts loosen.
Wheel Lug Nut Torque Specifications and the Tightening Pattern
Torque is the number most likely to be wrong in a guide like this, so it is worth being precise about where the correct value comes from. Start with the vehicle owner's manual, which usually lists wheel nut torque in the wheel or tire section. If the manual is missing, the vehicle manufacturer's service information or a published fastener specification for your model year will give the same figure.
Hardware changes the target. Aftermarket nuts are often designed for a particular seat, such as conical, ball or flat, and a nut with the wrong seat can read the correct torque on the wrench while clamping the wheel incorrectly. If you change to a different wheel or seat type, confirm the torque figure again with the nut or wheel supplier rather than assuming the factory value still applies.
Use a calibrated torque wrench and apply the value in stages. Lower the vehicle until the tire just touches the ground so the wheel cannot spin, then tighten in a star or crisscross pattern. On a five-lug wheel, tighten every second nut in turn rather than working around the circle. Make two or three passes, raising the torque gradually each time until the final value is reached. Do not use an impact gun for the final tightening, because impact tools overtighten and stretch studs and make the specified value impossible to hit reliably.
Watch out: if you cannot confirm the torque value for your exact vehicle and hardware, stop and have a shop confirm it rather than guessing a number from a chart.
The table below summarises the key torque and tightening steps covered in this section.
| Step | What to do | Timing or frequency |
|---|---|---|
| Find the torque value | Check the owner's manual or manufacturer service information | Before tightening |
| Clean the threads | Remove dry, rusted or damaged thread debris | Before tightening |
| Lower the vehicle | Lower until the tire just touches the ground | Before tightening |
| Tighten in a star pattern | Tighten every second nut in turn | Two or three passes |
| Raise torque gradually | Increase in stages to the final value | Each pass |
| Avoid impact tools | Do not use an impact gun for final tightening | Final tightening |
| Re-torque the nuts | Check with a torque wrench, not by feel | After the first 50-100 km |
Re-Torquing After Installation and Troubleshooting Problems
Re-torque the lug nuts after the first 50 to 100 kilometres of driving. The mounting surfaces settle against each other during that early use, and a nut that was tight at installation can lose part of its clamp load. Check the torque again with the torque wrench, not by feel, and then check again after a second short drive if the vehicle was loaded or driven hard.
Most post-installation complaints fall into three patterns, and they point to different causes. Vibration that appears at a steady highway speed usually points to centring or balance. Vibration that appears under braking points more toward rotor runout, uneven pad contact or a loose caliper bracket. Rubbing that shows up only during turns or over bumps usually points to offset or clearance, so the fix is to recheck fitment rather than adjust the nuts.
If you have TPMS sensors, check tire pressures after the install, because a wheel swap can break the sensor seal or leave a tire underinflated during the first drive. Some vehicles need a relearn procedure after a tire or wheel change before the system reports correctly, and that procedure is listed in the owner's manual. If the warning light stays on or the system reports the wrong tire, the cause is usually the sensor position, the relearn step or a damaged valve, not the wheel itself.
If vibration, rubbing or loosening continues after these checks, have a professional inspect the wheel, hub, studs and suspension. Damaged studs, uneven seating that you cannot correct, or fitment you are not sure of are all good reasons to stop driving the vehicle and book an inspection.
Booking Your Mobile Tire Install or Ordering Verified-Fit Wheels
If you would rather not do the install yourself, Rubber Lab offers a mobile tire service that brings a professional install crew to your home or workplace in Ottawa, Russell and Eastern Ontario. You can book a mobile install for a car or small/mid-size SUV directly from the product page. The Mobile Mount, Balance & Torque service covers mounting, balancing and torquing, and it is available for cars, small and mid-size SUVs, and full-size SUVs or half-ton trucks. Full-size SUV and half-ton truck owners can book the matching mobile mount, balance and torque service.
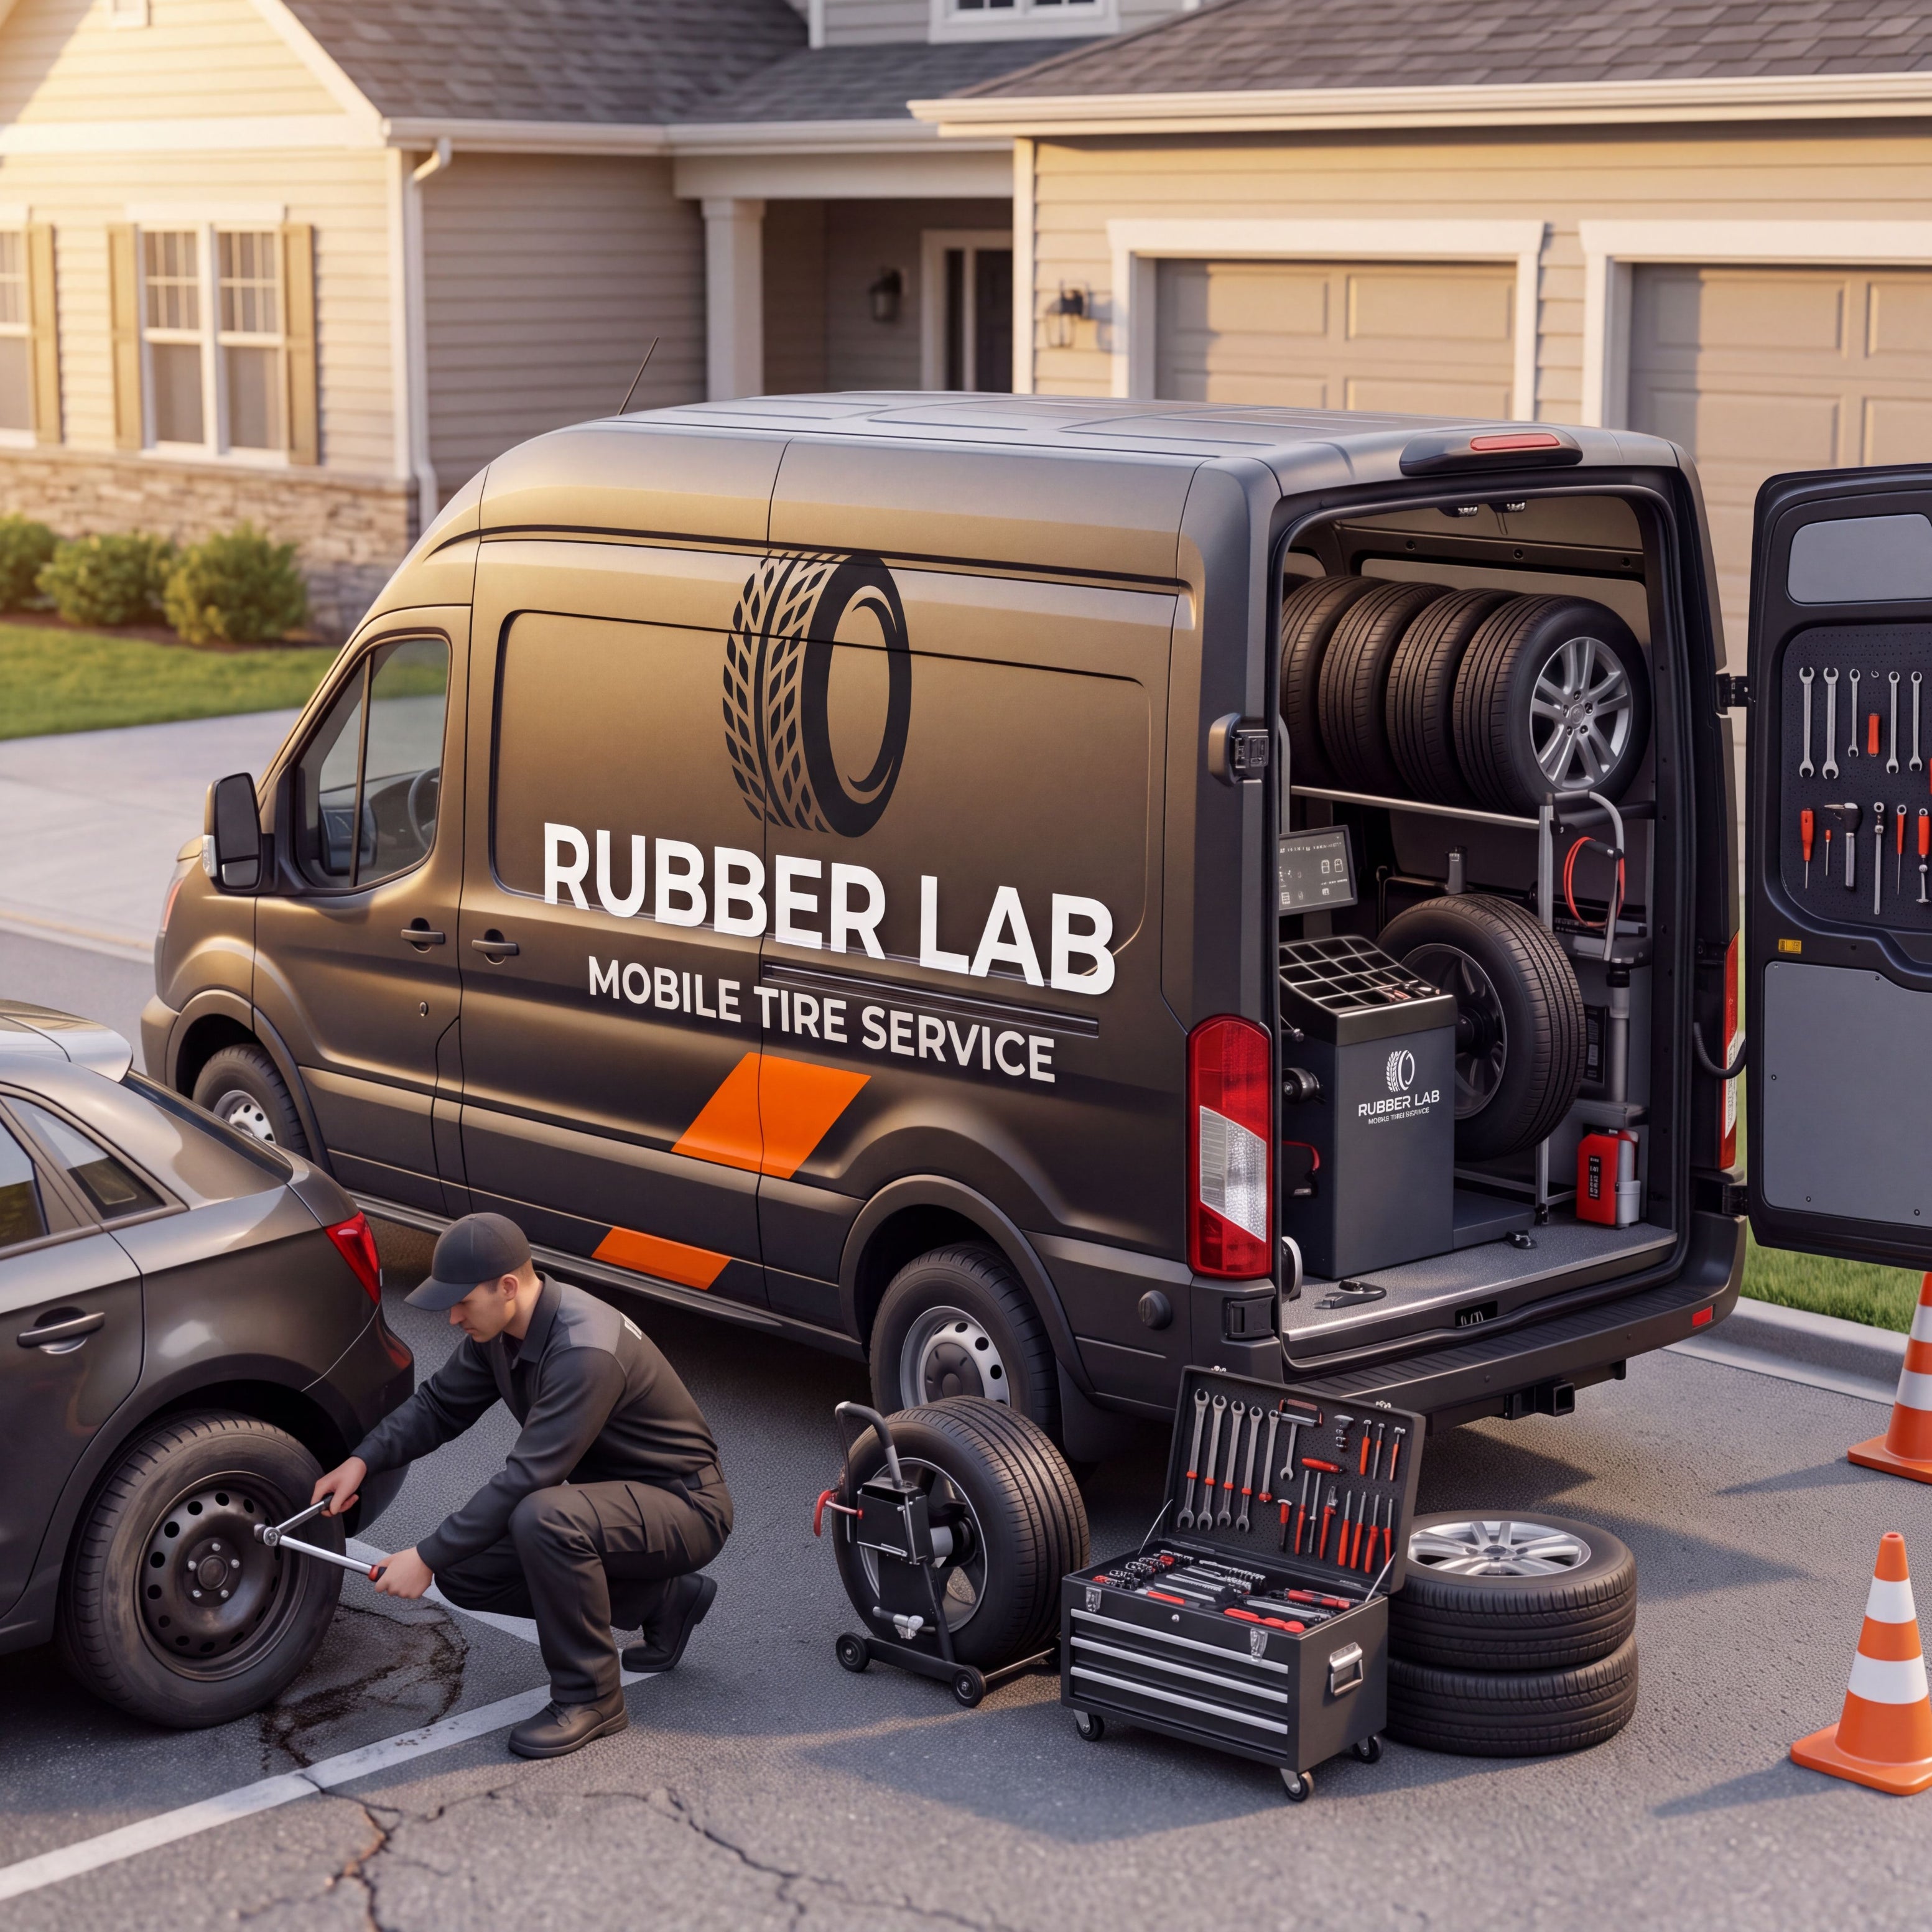
For a simple seasonal swap where your tires are already on rims, the Mobile Tire Swap service includes a tire inspection and tire pressure check. Owners of full-size SUVs or half-ton trucks can book a mobile swap of tires on rims. If you are buying new wheels, the ENKEI 17" T6S Gold 5-Bolt is one option from our catalog, built with MAT flow-forming for lower weight and added strength, and lug nuts and centre rings are not included.
Best for: drivers who want fitment confirmed before they order and a professional install without a shop visit. Skip if: you are comfortable doing the install yourself and already have a calibrated torque wrench and the correct hardware.
Ready to get the install done right? Book your tire change with Rubber Lab Industries and have a professional crew handle the mounting and torquing at your location.
Frequently Asked Questions
How do you install aftermarket wheels?
Raise the vehicle on a level surface and support it on jack stands. Remove the factory wheel, clean the hub face and studs, and fit any hub-centric rings. Mount the aftermarket wheel, thread the lug nuts by hand, then tighten them in a star pattern with a torque wrench to the vehicle-specific specification. Lower the car and re-check torque after the first 50 to 100 km of driving.
What should you check before installing aftermarket wheels?
Confirm the bolt pattern, center bore, offset and load rating match your vehicle. Check that the lug seat type (conical or ball) matches the wheel and that the tire size is within your vehicle's approved range. Test-fit the wheel and confirm there is enough brake caliper and suspension clearance before final installation.
Do aftermarket wheels need hub-centric rings?
Often yes. If the wheel's center bore is larger than the vehicle hub, a hub-centric ring fills the gap so the wheel is centred by the hub rather than only by the lug nuts. This reduces vibration and stress on the studs. Buy rings sized to the difference between the two bores and install them flush against the hub face.
Do you need to re-torque wheels after installation?
Yes. Aluminium wheels and new seating surfaces can settle slightly in the first few hundred kilometres. Re-check every lug nut with a torque wrench after the first 50 to 100 km, then periodically as part of routine maintenance. Loose wheels are a serious safety risk, so do not skip this step.
What torque should aftermarket wheels be tightened to?
Use the torque specification published for your specific vehicle, which is typically given in the owner's manual or by the manufacturer. Do not assume a generic value, because stud size and seat type change the correct number. If you cannot confirm the figure, have a professional install the wheels.
